I am very pleased to present the first wall of wainscoting that has been completed. Liam did all the carpentry himself. My job was to make the exposed plaster look good again...I must say, we both did a tremendous job. Yeah, that's not new drywall...that's the original plaster wall by the way.
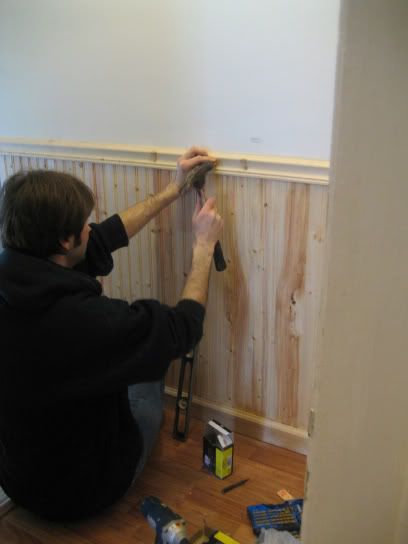
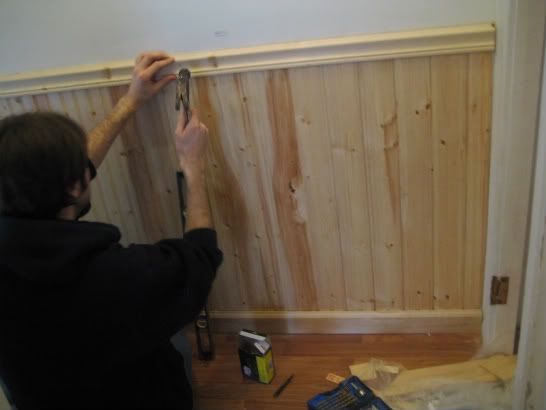
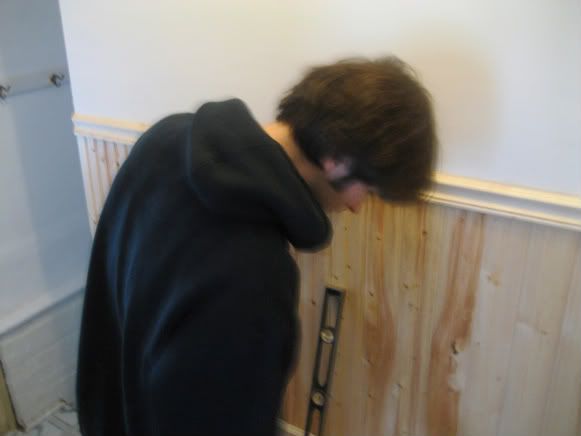
Finished!
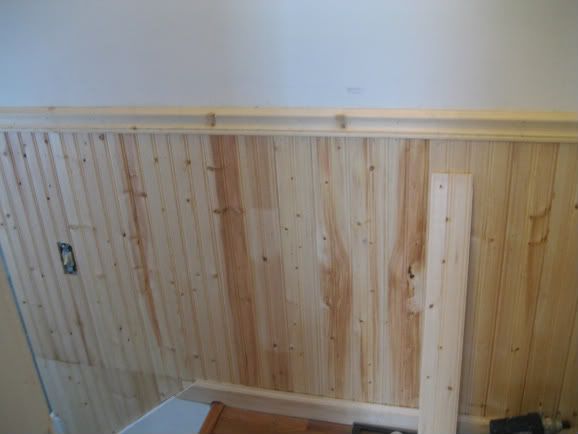
Seen here in 2008 after 1940s plastic tile removal...
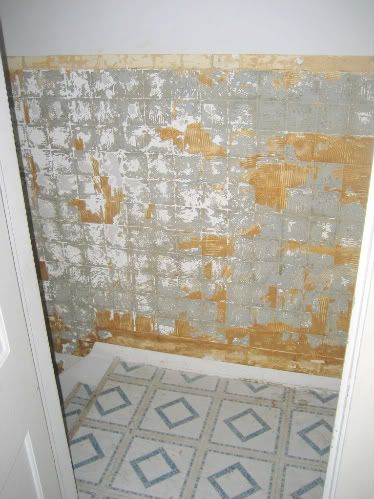
As you can see the previous tile was about 2 1/2 ft higher. It was towering over the doorway. It's a narrow squeeze to begin with, and that really closed the space in. Of course, that was only the tip of the ice-burg when it came to removing that tile.
The new wainscoting is the perfect height, and will really make the space inviting and elegant again. It will be painted white, and the walls a historical soft yellow.

2 comments:
How does your original plaster wall LOOK THAT GOOD?!?!
Little bit jealous. But also happy for you! The bead board looks GREAT!
Thanks so much!
It was a three part skim coat process. I was amazed at how simple it was. All you need is a thick roller, sheetrock mixed down to a pancake batter consistency with water, and a taping knife, and a drywall sanding block for light sanding.
I'd be glad to explain in more detail to anyone who is interested.
We also primed with Kilz High Build which is a great product for old plaster walls, but we recently discovered it's no longer manufactured.
Post a Comment